
You finally did it. You invested in that season extending, weather protecting, big, expensive hoop house. Things are going to change from here on out. You are going to grow things that just haven’t thrived due to your weather or your growing zone. You are going to be the grower you always dreamed of. I am so excited for you!
If you also set up that hoop house on your own, you are also a very patient, very amazing person. So, pat yourself on the back, you did it!
As you stare at this beautiful new space, with images of greenery filling your brain, you start to realize a few things.
One: I gotta get this soil up to snuff.
Two: How am I going to use this space the best way I can?
The first requires some more patience and potentially a few years of soil management. Nothing that a few loads of compost can’t fix in the meantime. So you order it up and that big pile is waiting and part two starts to sneak in. How am I going to set this thing up for growing? Should I do long rows? Short fat rows? What is going to keep the weeds down? Should I make mounds? How can I incorporate some compost?
All very good questions. None of which I found answers to via the web. There were pictures, and some info, but nothing that told me, HEY THIS IS THE MOST EFFICIENT WAY TO DO THIS. Truthfully, there probably is no one size fits all. Especially when you factor in location, sun exposure, soil type, growing zone, what you are growing, and the list goes on.
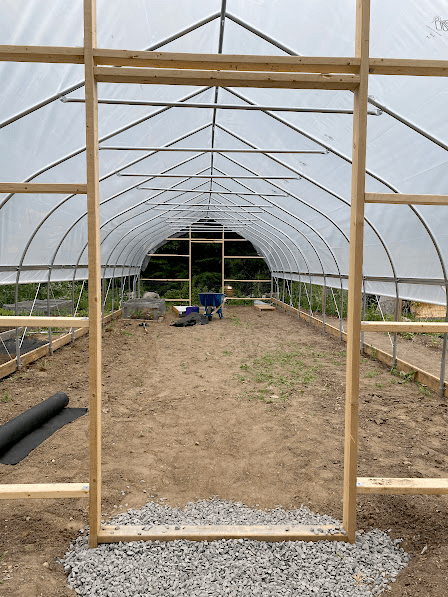
When we first built our hoop house our only thought was – What area of our property has the most sun, can have access to water, and is flat and buildable?
For us, that was on a piece of land that was recently filled in by a landscaping company. There was no tree cover, tons of light, and easy access to water. What we didn’t count on was the lack of fertile soil. The fill that had been used was rocky, sandy, filled with concrete and junk left overs.
The soil inside our hoop house was lacking in nutrients. It was hard and rocky and not level.
Once the structure was complete, we needed to till and amend as much as possible.
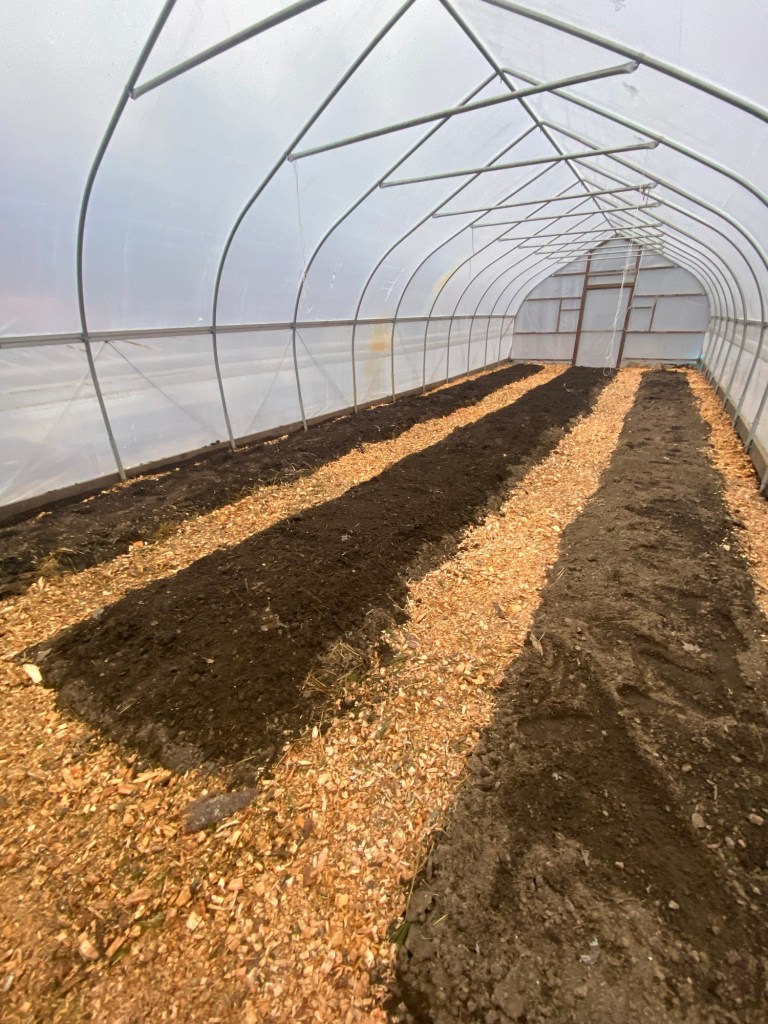
So we piled in the compost and loam and realized it was best for us to mound our planting spaces. This allowed us to work on soil amendments over time. The mounds would be raised with loamy compost and the spaces in between (our walking rows) we wouldn’t waste quality (and expensive) fill on. Then, each year as we tilled and shifted, the top layer of our soil would slowly build.
Based on the goal of building our soil, the mound system worked in our favor another way. I was able to dig trenches in between my mounds of compost. I dumped raw compost from my house into the trenches to help bring nutrients to the lower levels, where my roots would not hit. I then covered the compost with used hay from the goat house, again, adding more nutrients to the soil. Lastly, I layered wood chips on top to keep the hay from seeding and creating a huge weed barrier.
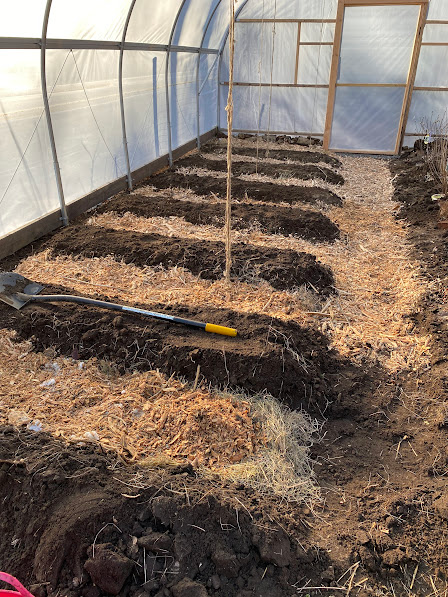
As you see in the image, I chose to do lots of short mounds with a two foot walkway down the center. I quickly realized that 16 feet wide is a difficult width when you add in paths. Our hoop house is 16 feet x 48 feet, 768 square feet of growing space. Unfortunately, once you subtract the square footage of the footpaths, you end up with about half that. With this system, we had 18 mounds about 3-4 feet wide, with 2 foot paths in between. I chose this design in order to best use the width of the space and to separate the different plants I was growing. It isn’t the most efficient use of the space, but with our soil quality, I would still have done it this way in order to use those 2 foot paths to add the raw compost and goat hay.
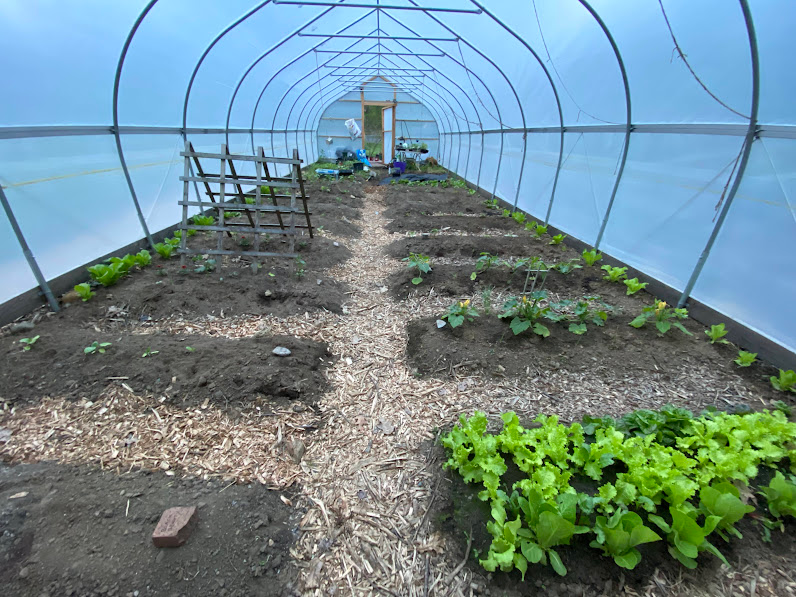
I grew this way for two years and had great success.
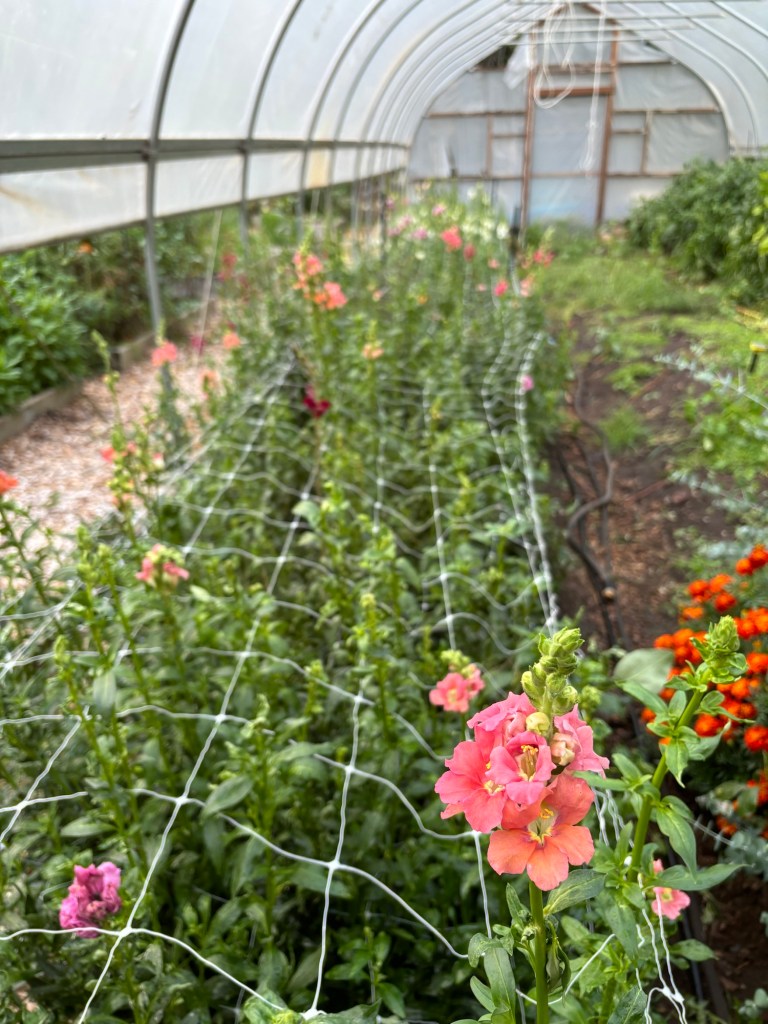
This past season I tried a different layout. I kept the short beds for most of the space, but I included two longer beds.
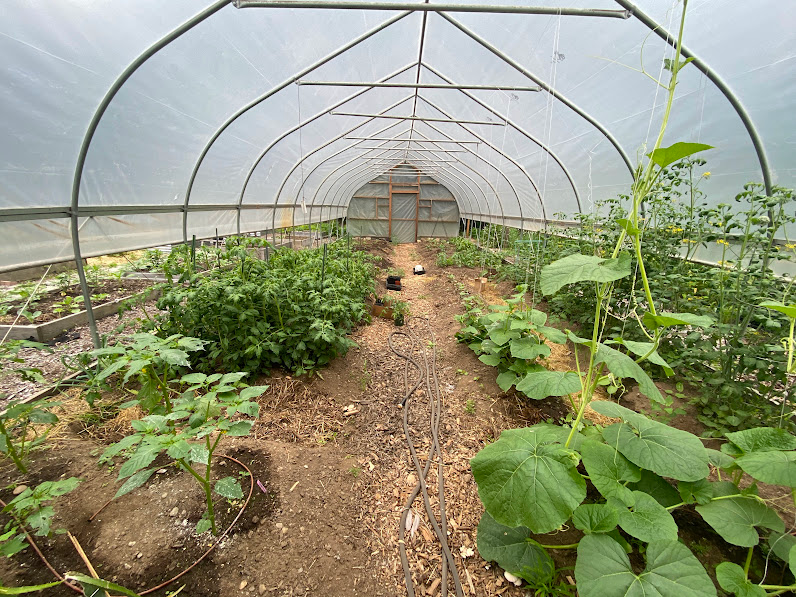
This allowed me to get better use of the ridge poles on top to grow plants that need a trellis such as cucumbers and cherry tomatoes. It also made laying irrigation much easier, laying long lines of drip lines versus a long line on the edge and shorter lines on each mound. This method worked really well with my cucumbers, but the downside was the venting. Trellising plants throughout the greenhouse cut down on the airflow. The decreased footpaths and increased plants really impacted the amount of mold. It also forced me to plant directly on the side of the greenhouse, which was challenging as the plants grew out the sides. Water (and we had tons of rain) hit the plants and they lacked the protection of the hoop house.
Back to the drawing board.
This season the hoop house will be used mostly for growing flowers. In order to maximize my space I’m making the shift to 3 long beds. The two side beds will be 3 ft x 42 feet with a 1 foot space between the bed and the side wall and 3 feet on each end. The center bed will be 4 ft x 42 feet since I will have both sides to harvest from, with 2 foot walking paths on either side. This will maximize my space giving me around 420 square feet of growing space with plenty of room to walk and harvest from.
One last thing to think about. For our outside plantings, I have adopted 48″ beds pretty much everywhere. I think the value of having a uniform bed width helps to slim down workload, help to unify processes, and it always helps that all frost cloth or shade cloth will fit no matter what bed I use. Many would suggest 30″ width as the go to for market farming. This is what most tools are built to use with and it allows you to step over beds with ease. I grow on less than 3 acres and really want to maximize my space, prompting me to stick with my 48″ beds.
Interested in another opinion? I found this article to be helpful: https://www.chelseagreen.com/2023/making-of-an-efficient-garden-permanent-beds/
UPDATE: After a full season with this layout, I have found it to be far more efficient. Leaving at least a 1 foot gap on either side was critical as well. Many plants grew so large they still found their way out of the roll up sides, but it wasn’t enough that I felt I lost any crop.


Leave a comment