Growing herbs has been on my goals list for a while. I am usually good about throwing some basil and oregano into random spots in the garden and I have thrived at growing sage in a huge garden bed over the last few years (although I had yet to find a good use for all that sage).
My issue with herbs is that they are always an afterthought. I maximize my growing space for my veggies and my fruits, so herbs just get stuck in at the end. Because there is no defined space, they get lost in the mix and I rarely snip them back or harvest them. I never prioritized the time to pick and dry them, but when the season is over, I always wish I had.
This year, a friend of mine gave me a huge collection of seeds. Many of these were different types of herbs, inspiring me to get a jump start on an herb garden. I sowed my seeds and watched them grow all while trying to plan where they would go. I needed it to be convenient, as well as productive, and as with everything in my garden, it needed to fit my garden aesthetic.
My original idea was to plant them close to the kitchen, in true kitchen garden style, so that I could quickly head out and snip them as I was cooking. Based on sunlight and space the front yard seemed the best place for this. If I was going to commit a new garden to the front, I wanted it to match the rest of my various perennial gardens, if not stand out amongst them.
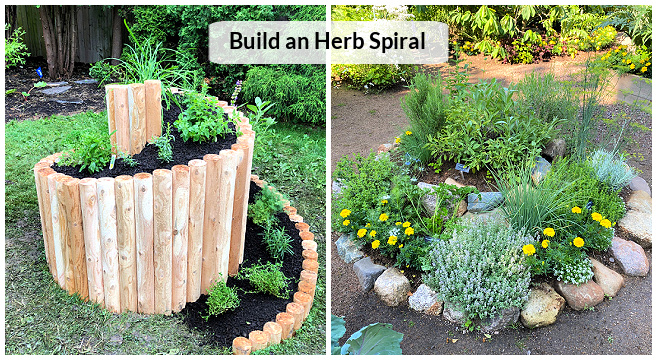
I have been working hard on the transformation of our front yard from dense forest, to a permaculture fruit basket. An herb garden would fit in perfectly with that mindset. I started researching pretty herb gardens and once I saw my first herb spiral, I knew this was how I was going to make it pop.
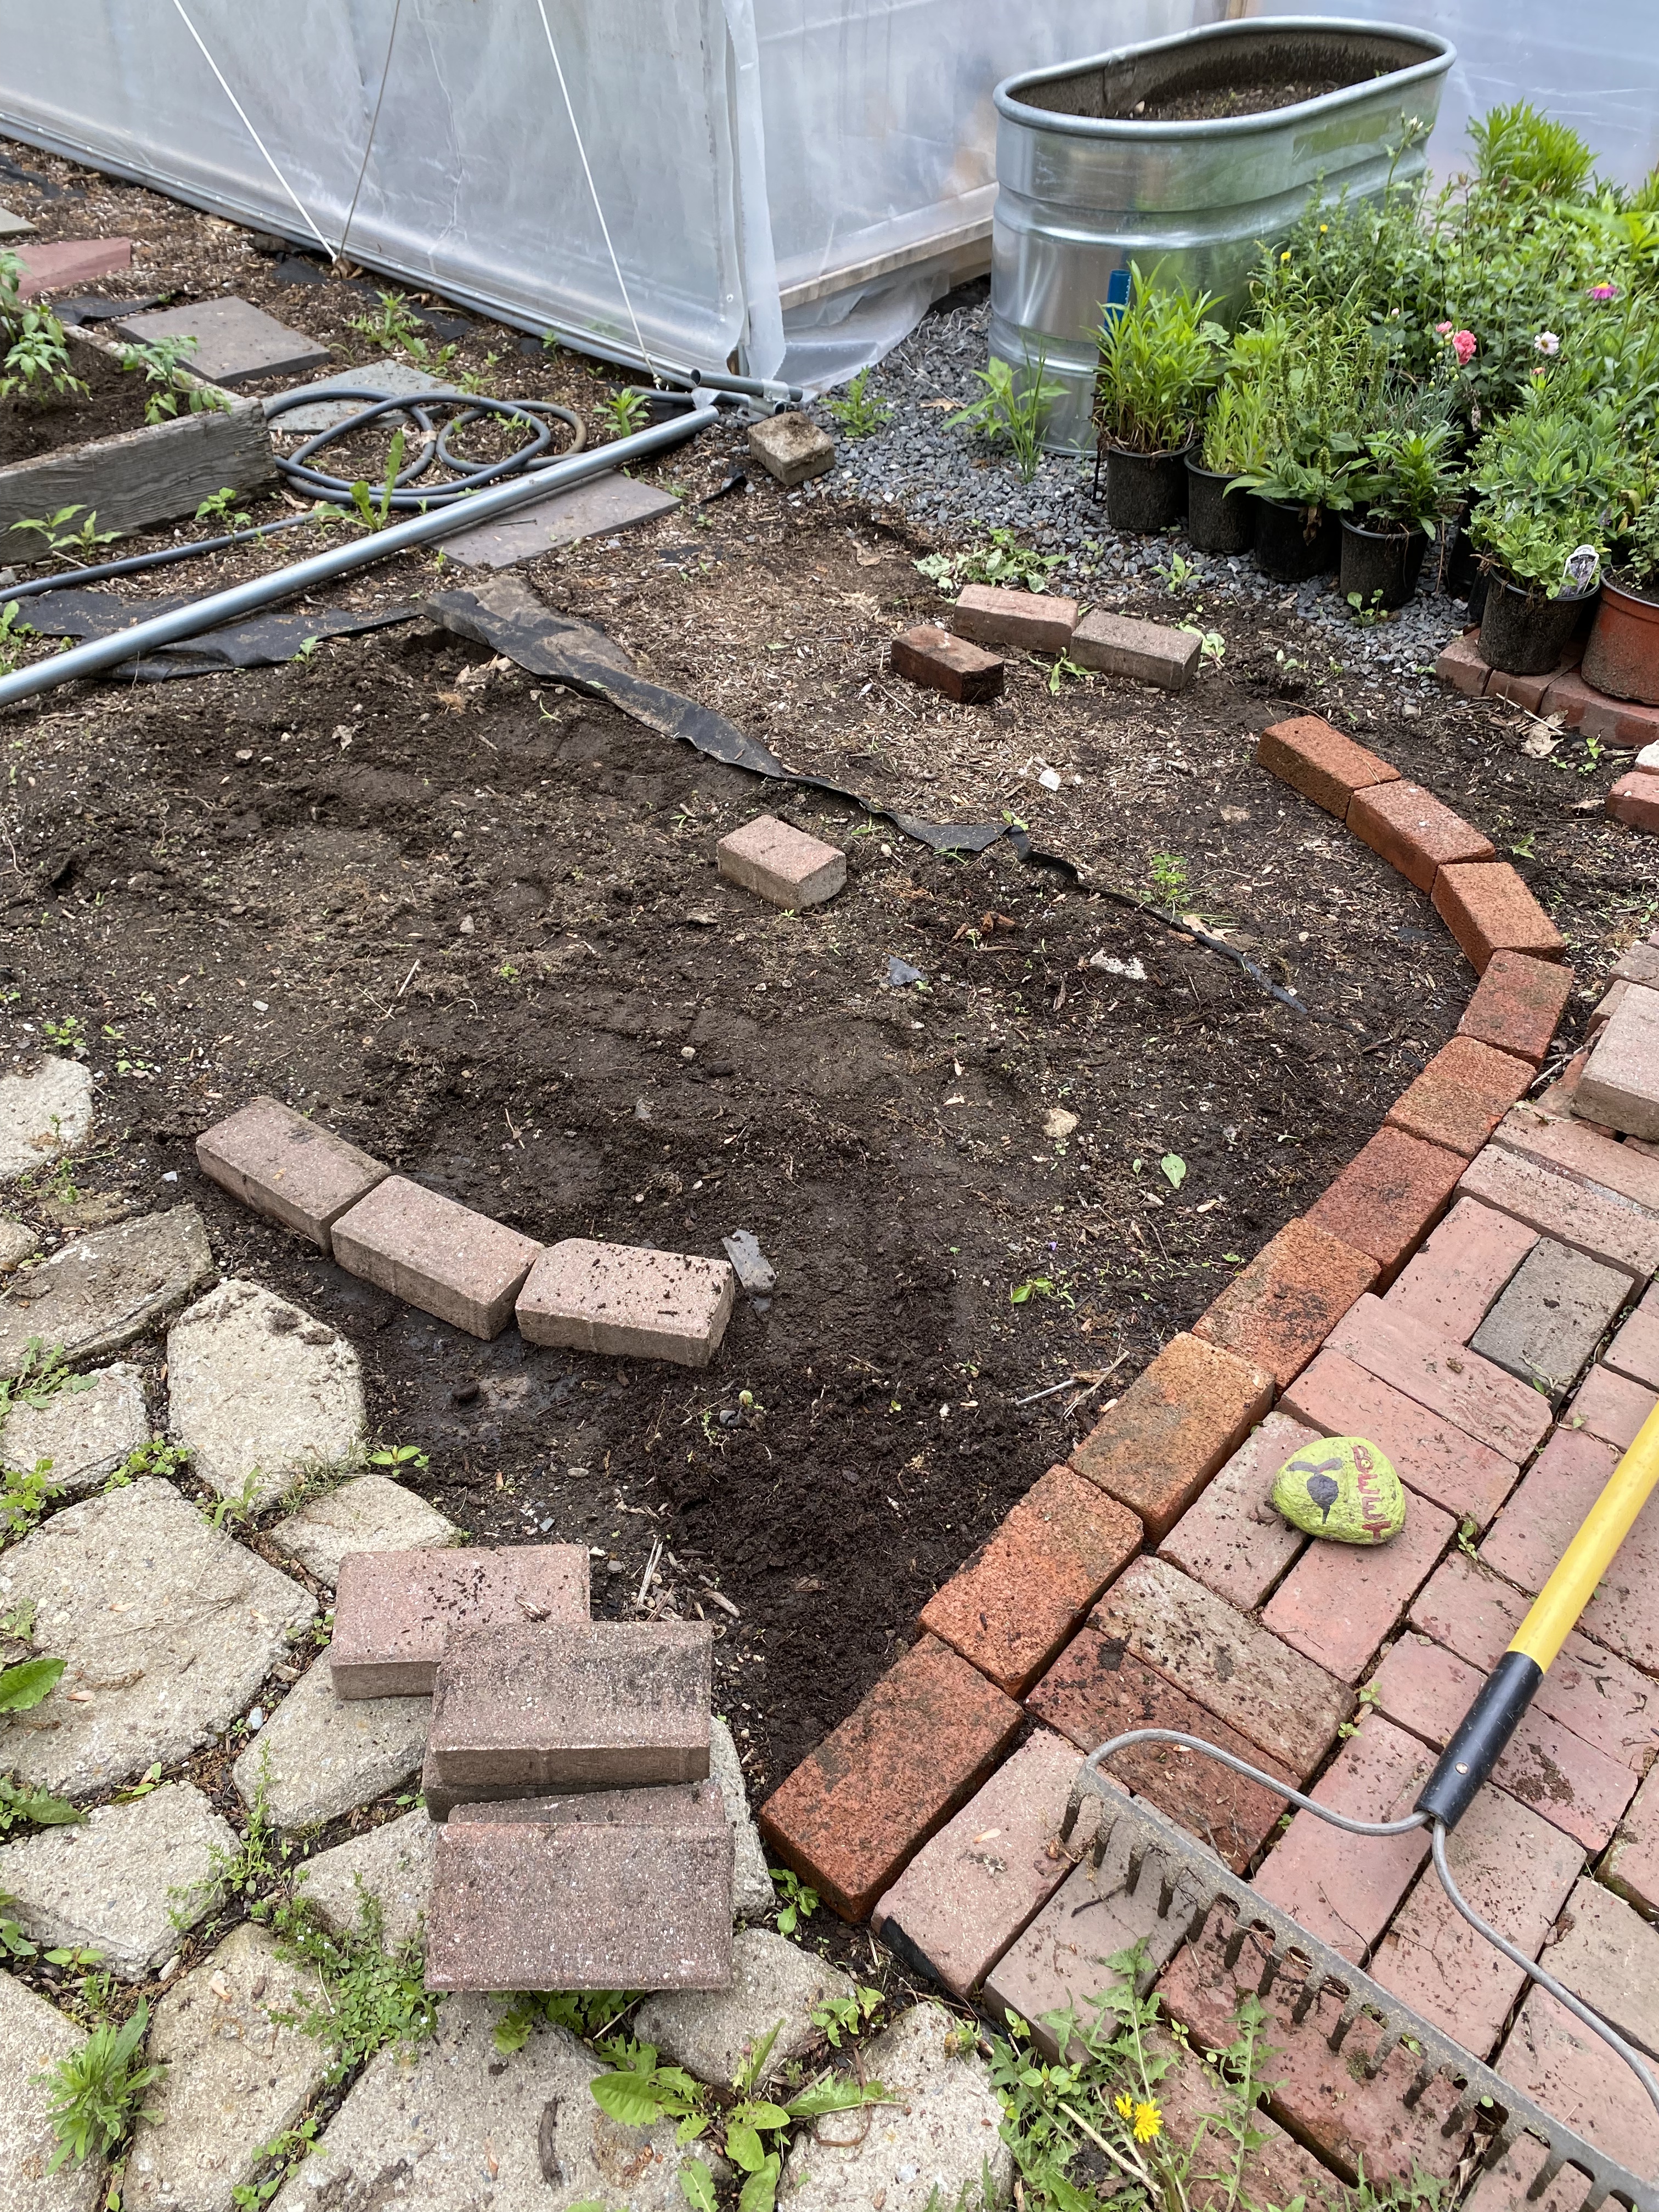
I couldn’t find an area in the front where this would work. The spring was ticking away and I knew I needed to find a spot. Luckily, I had the most perfect 6 foot square space open in the vegetable garden where a previous raised bed had rotten.
Once I had the spot, I needed to decide what materials to use. There are so many options: pavers or rocks, mortared or not. After surveying the area where I was going to build the spiral, I decided that brick would fit the overall look the best. I had a stack of random bricks and in the end a free herb spiral was the deciding factor.
I quickly realized that my small pile wasn’t going to be enough. Then I hit the mother load.
One piece of advice I would offer to anyone about to jump on the homesteading wagon:
BECOME FRIENDS WITH A LOCAL LANDSCAPER.
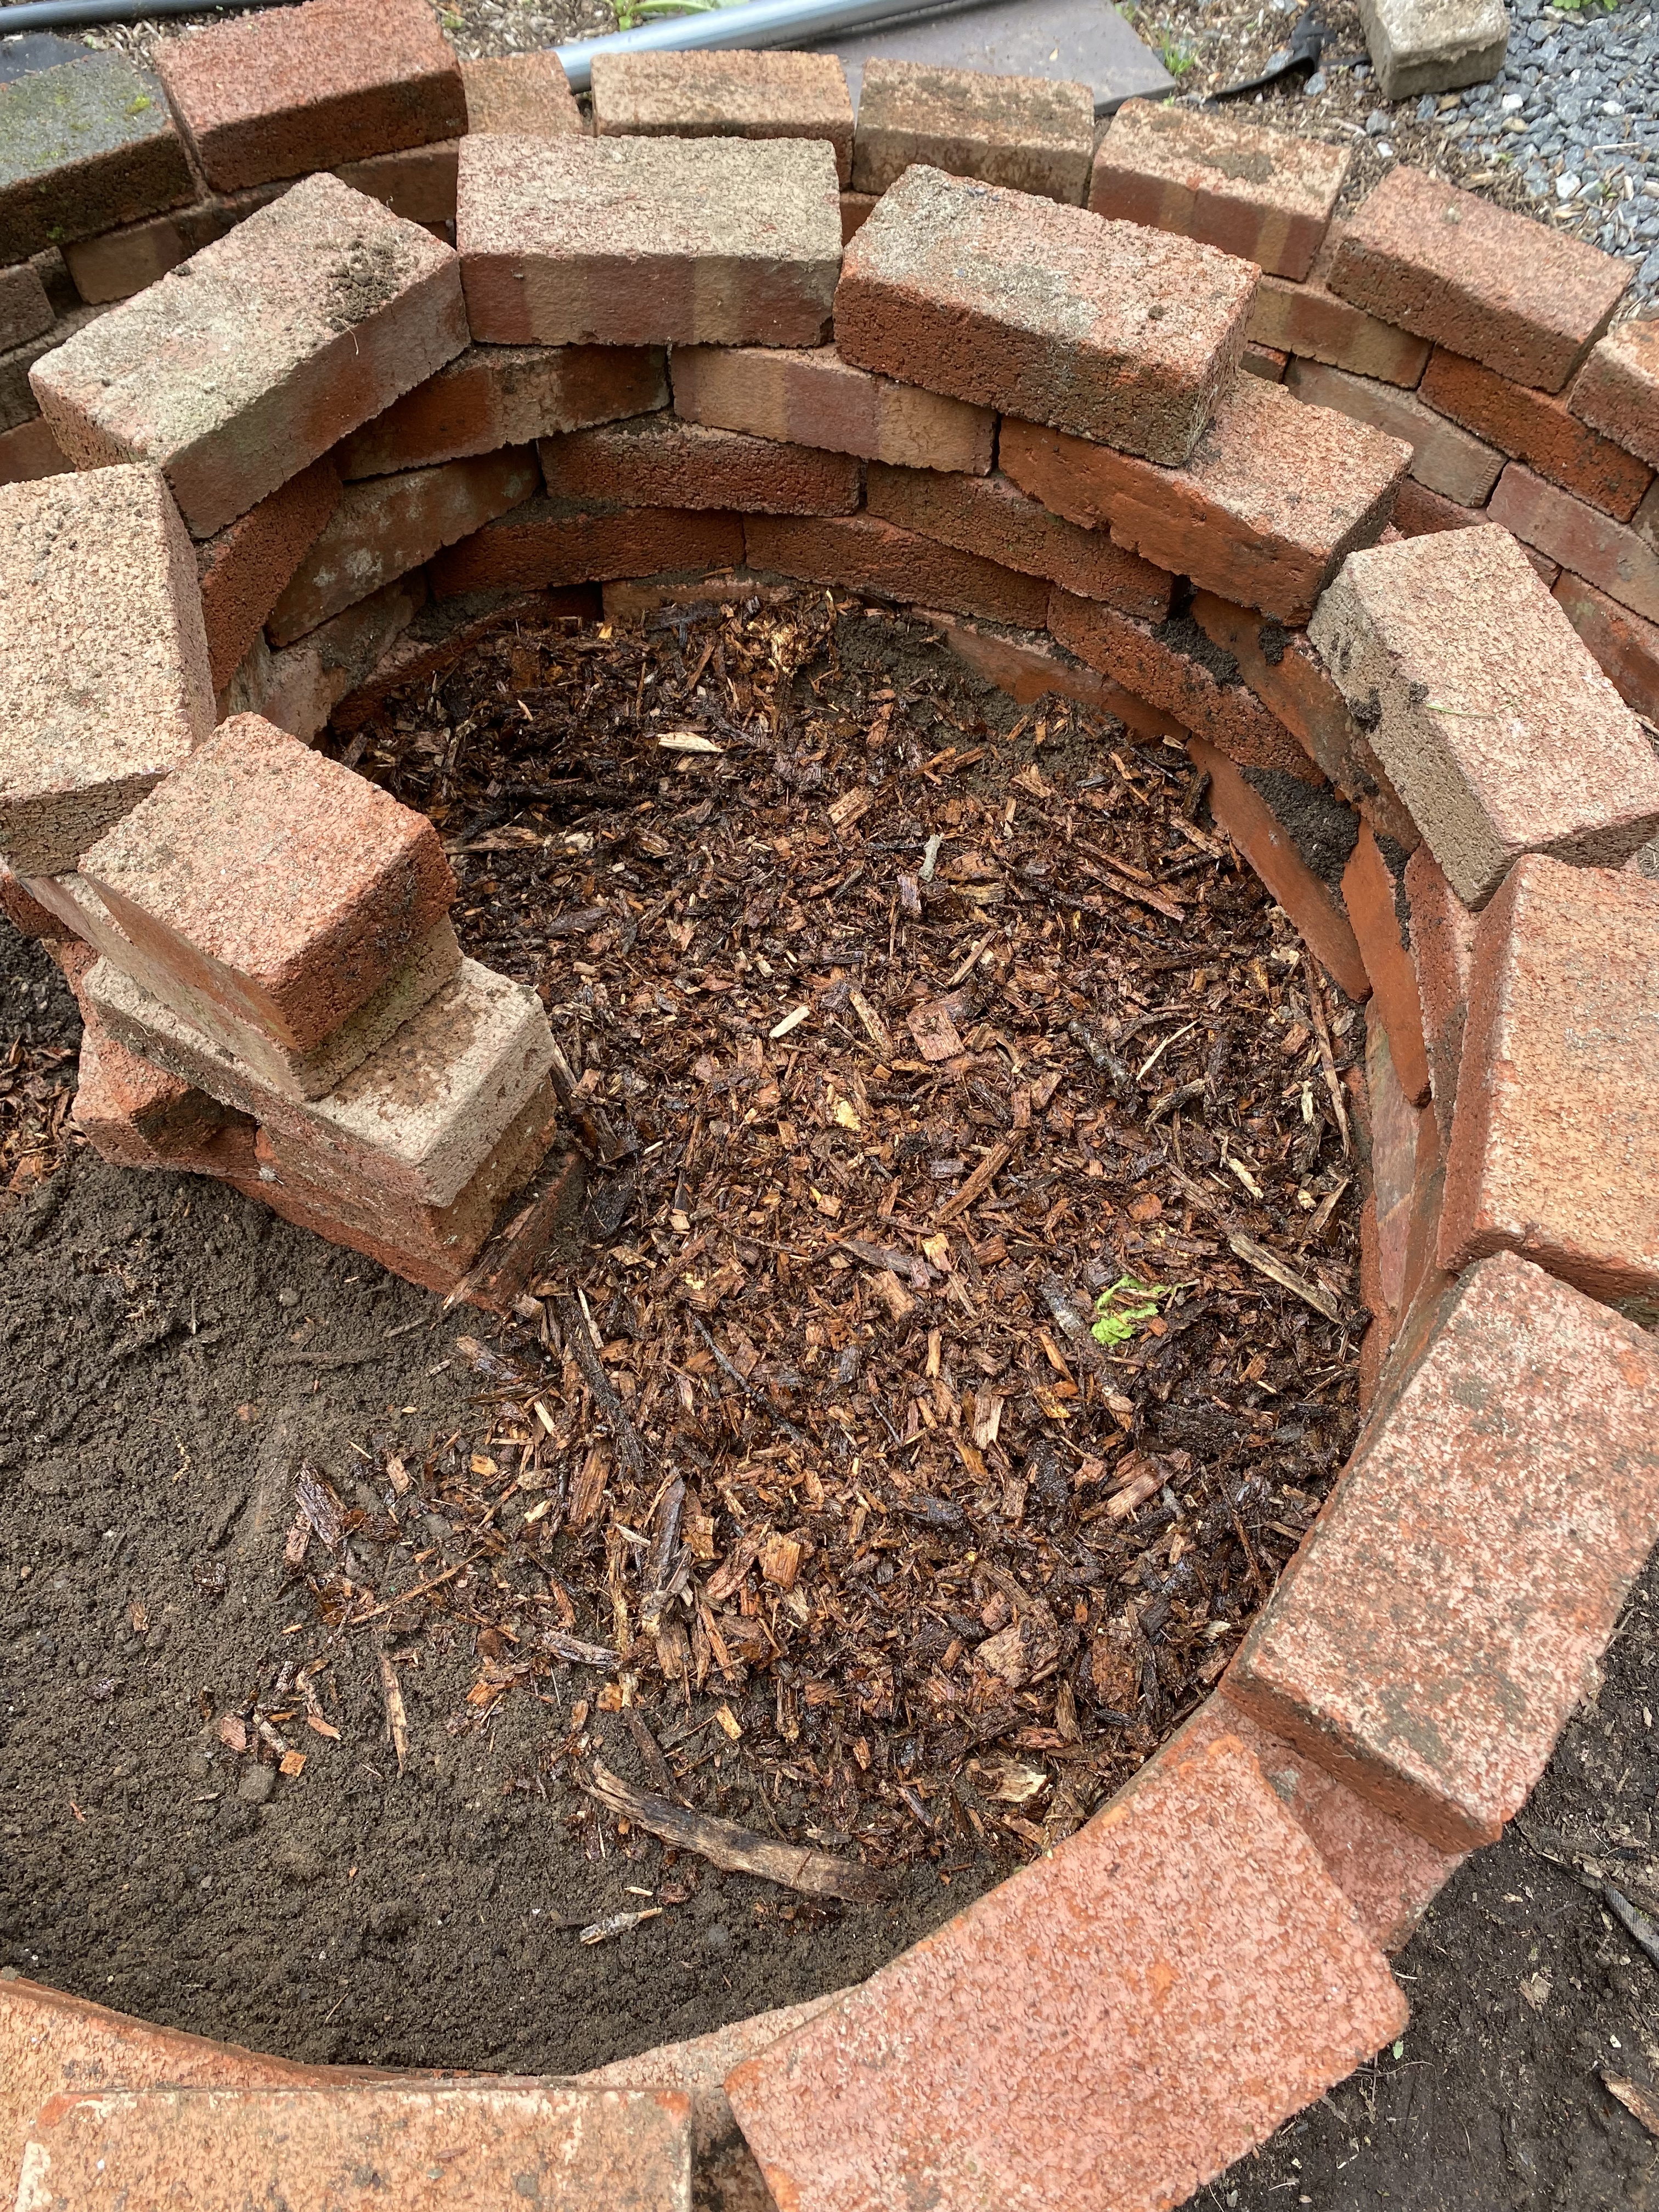
For me, this and good soil are the two keys to my successes so far. Whether it’s advice, scraps, or machinery help, I cannot tell you how valuable my landscaping friends have been. Realizing my lack of bricks, I called a good friend who owns a landscaping company is also my neighbor. I asked if I could dig through his discard pile for used bricks and I hit the jackpot. Hidden behind a bush was an entire pile of used bricks. It took about 150 bricks to complete the entire spiral. You can easily make it smaller. My overall dimensions were about 6 feet in diameter and I did 8 bricks tall in the center which is the highest point of my spiral.

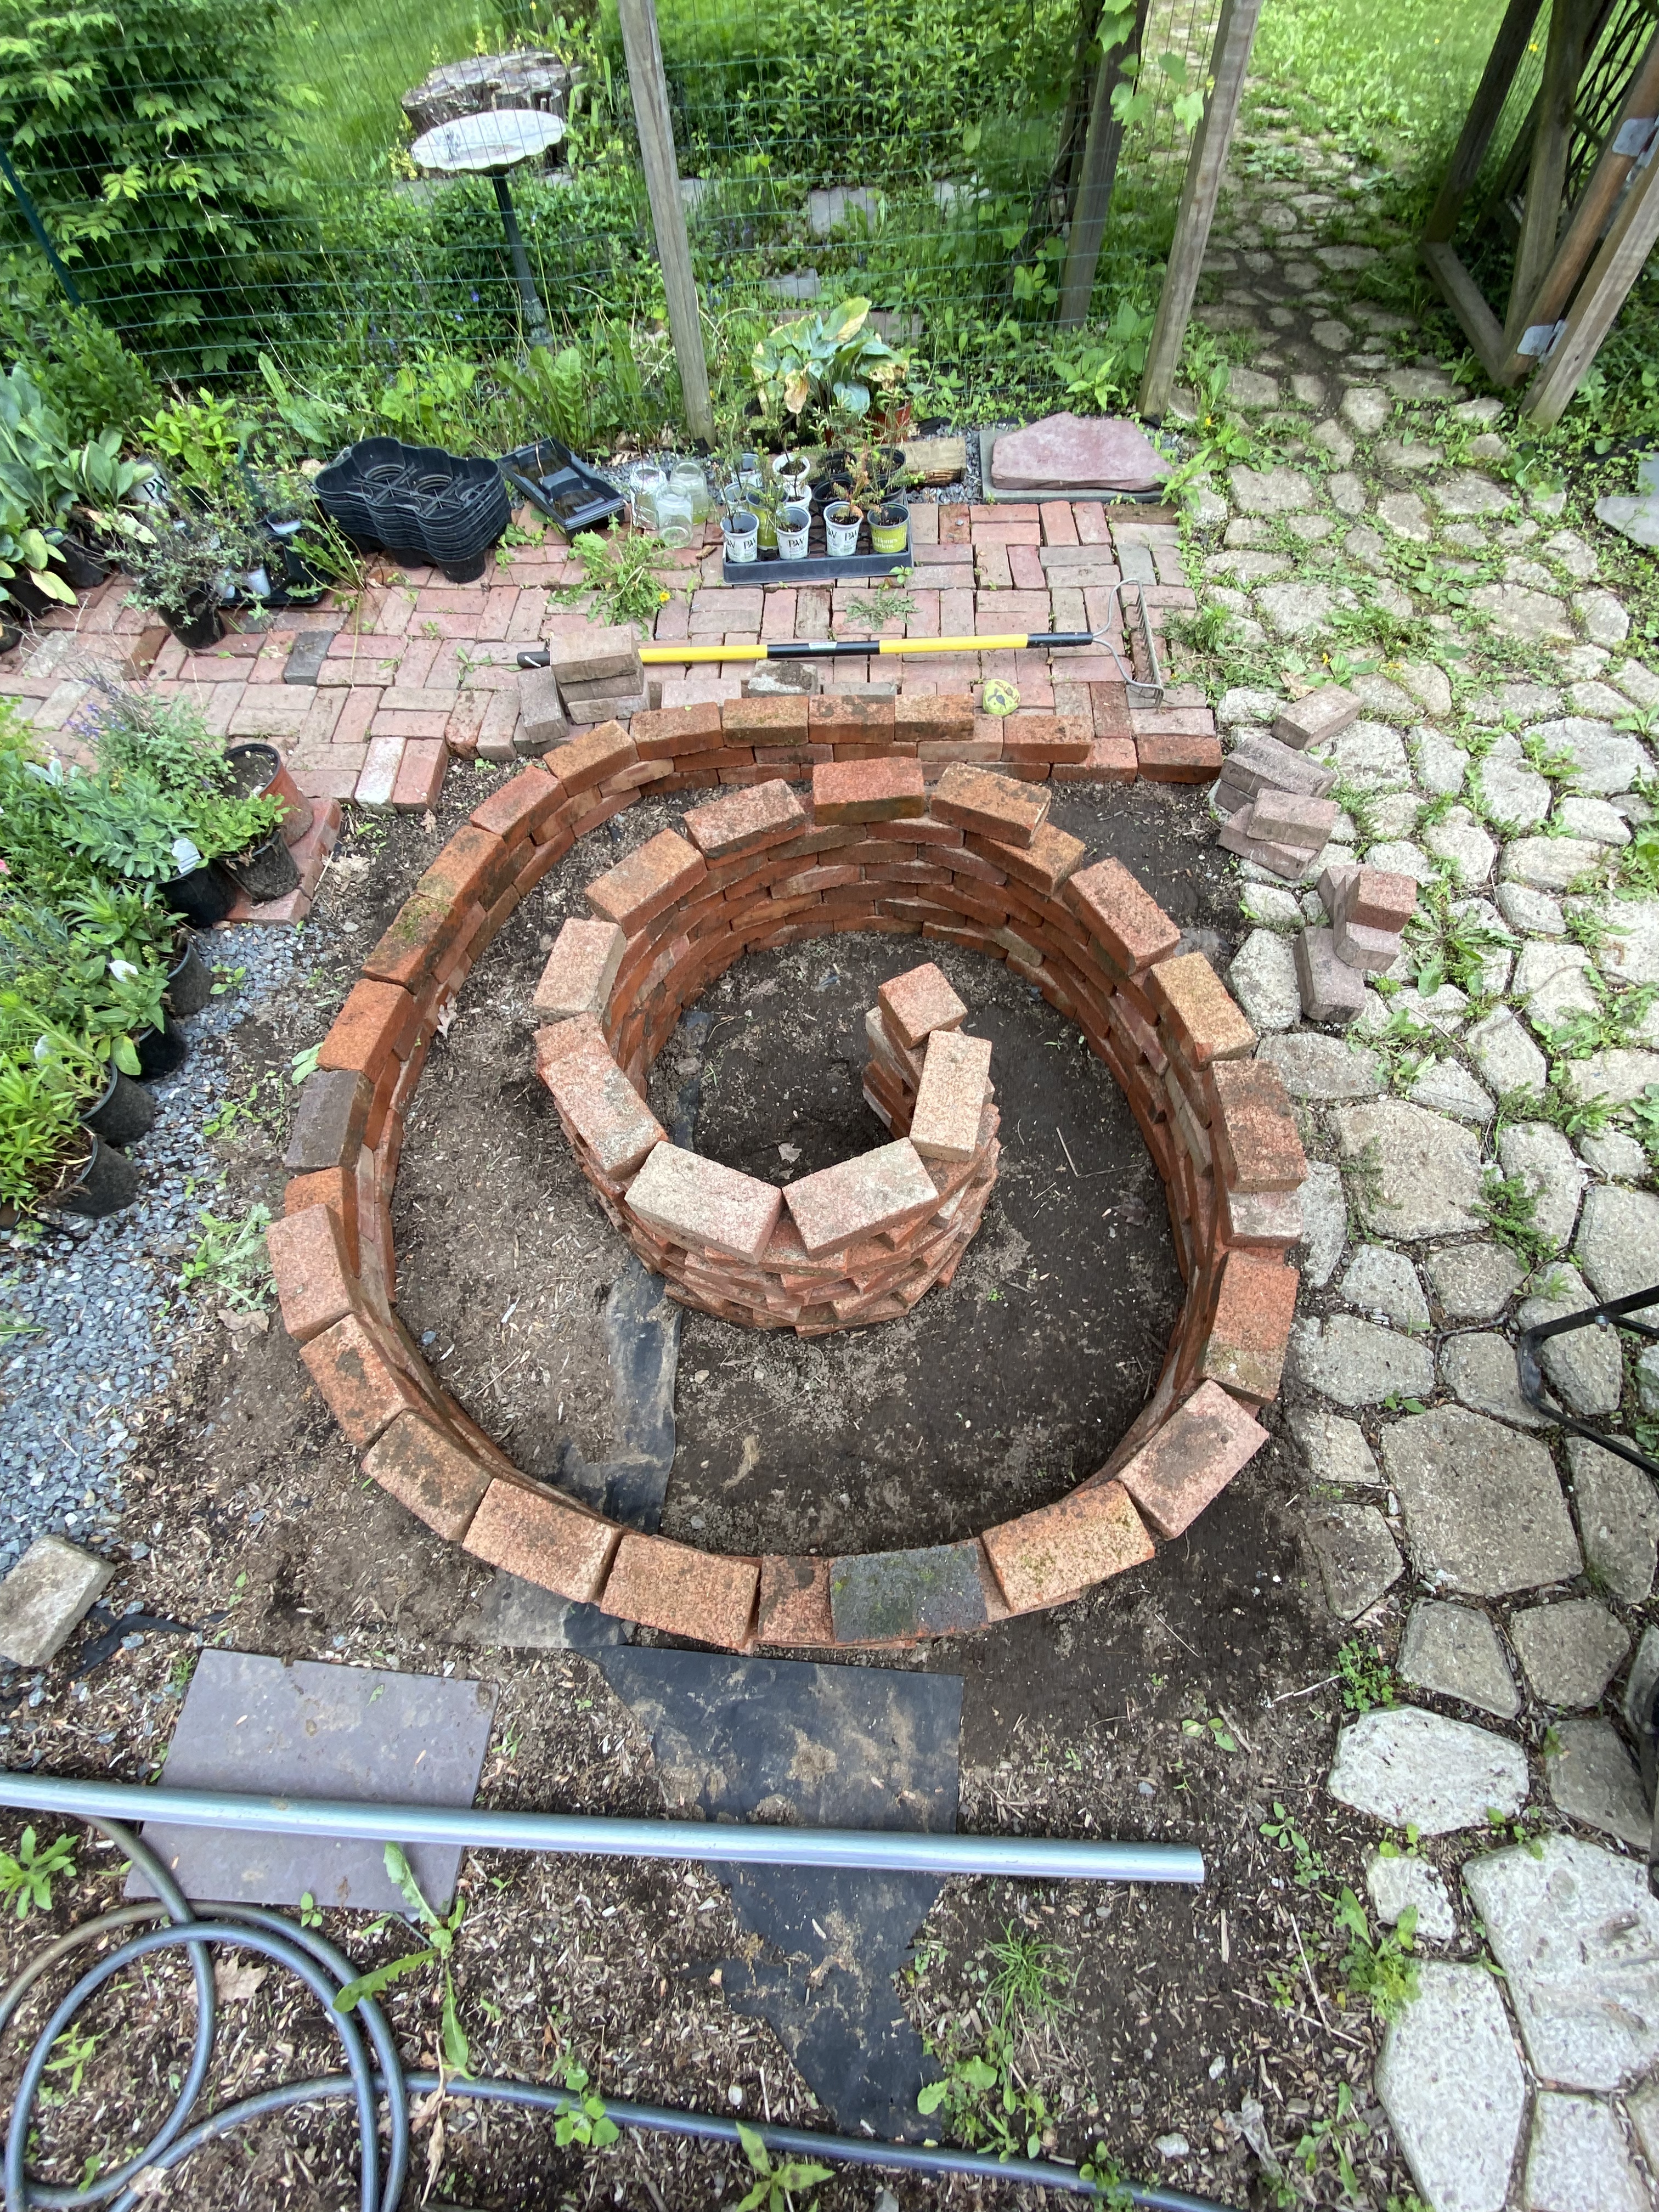
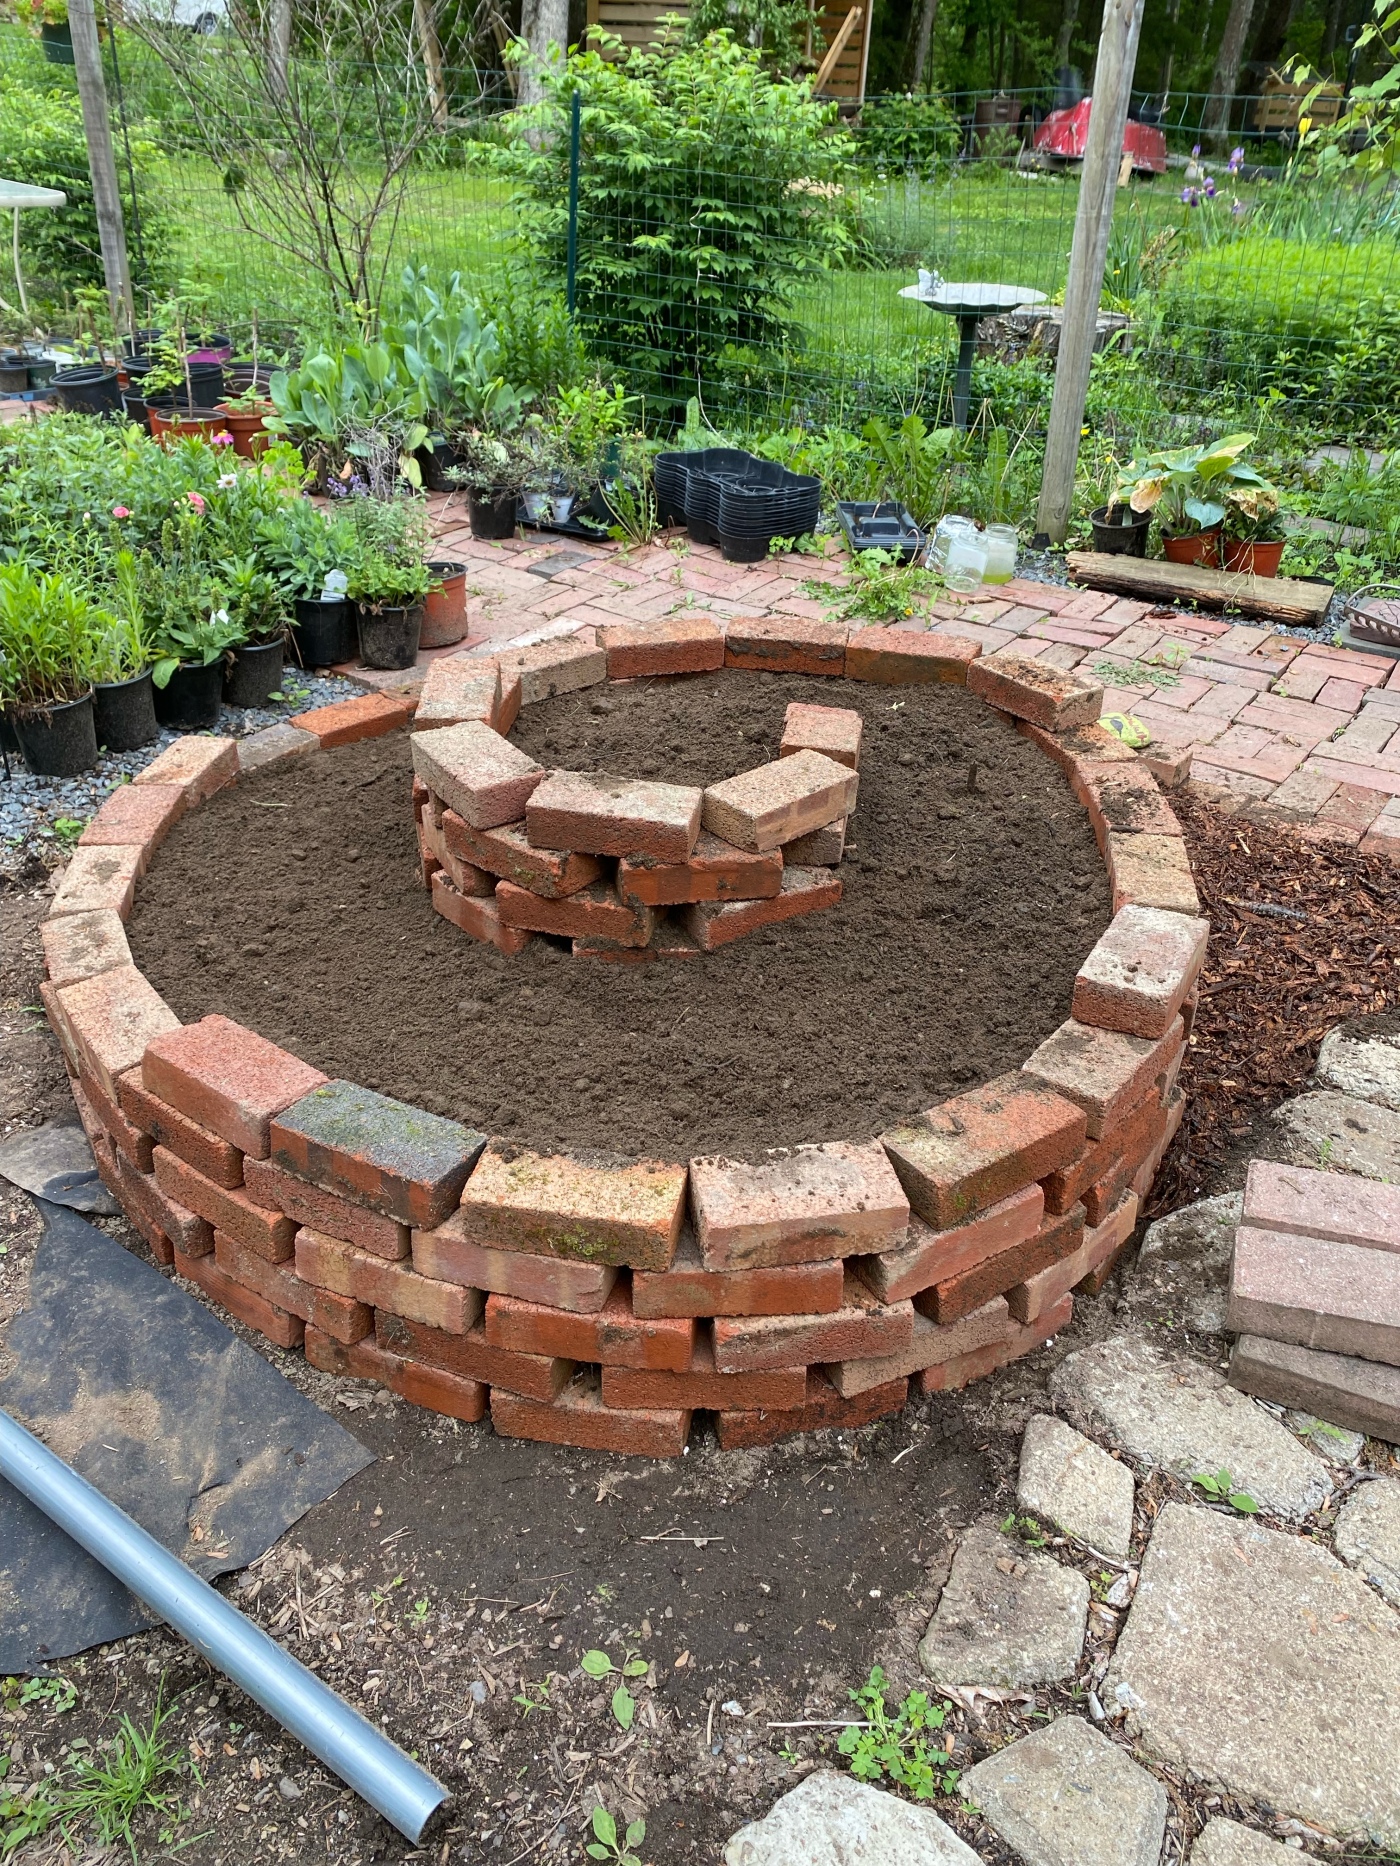
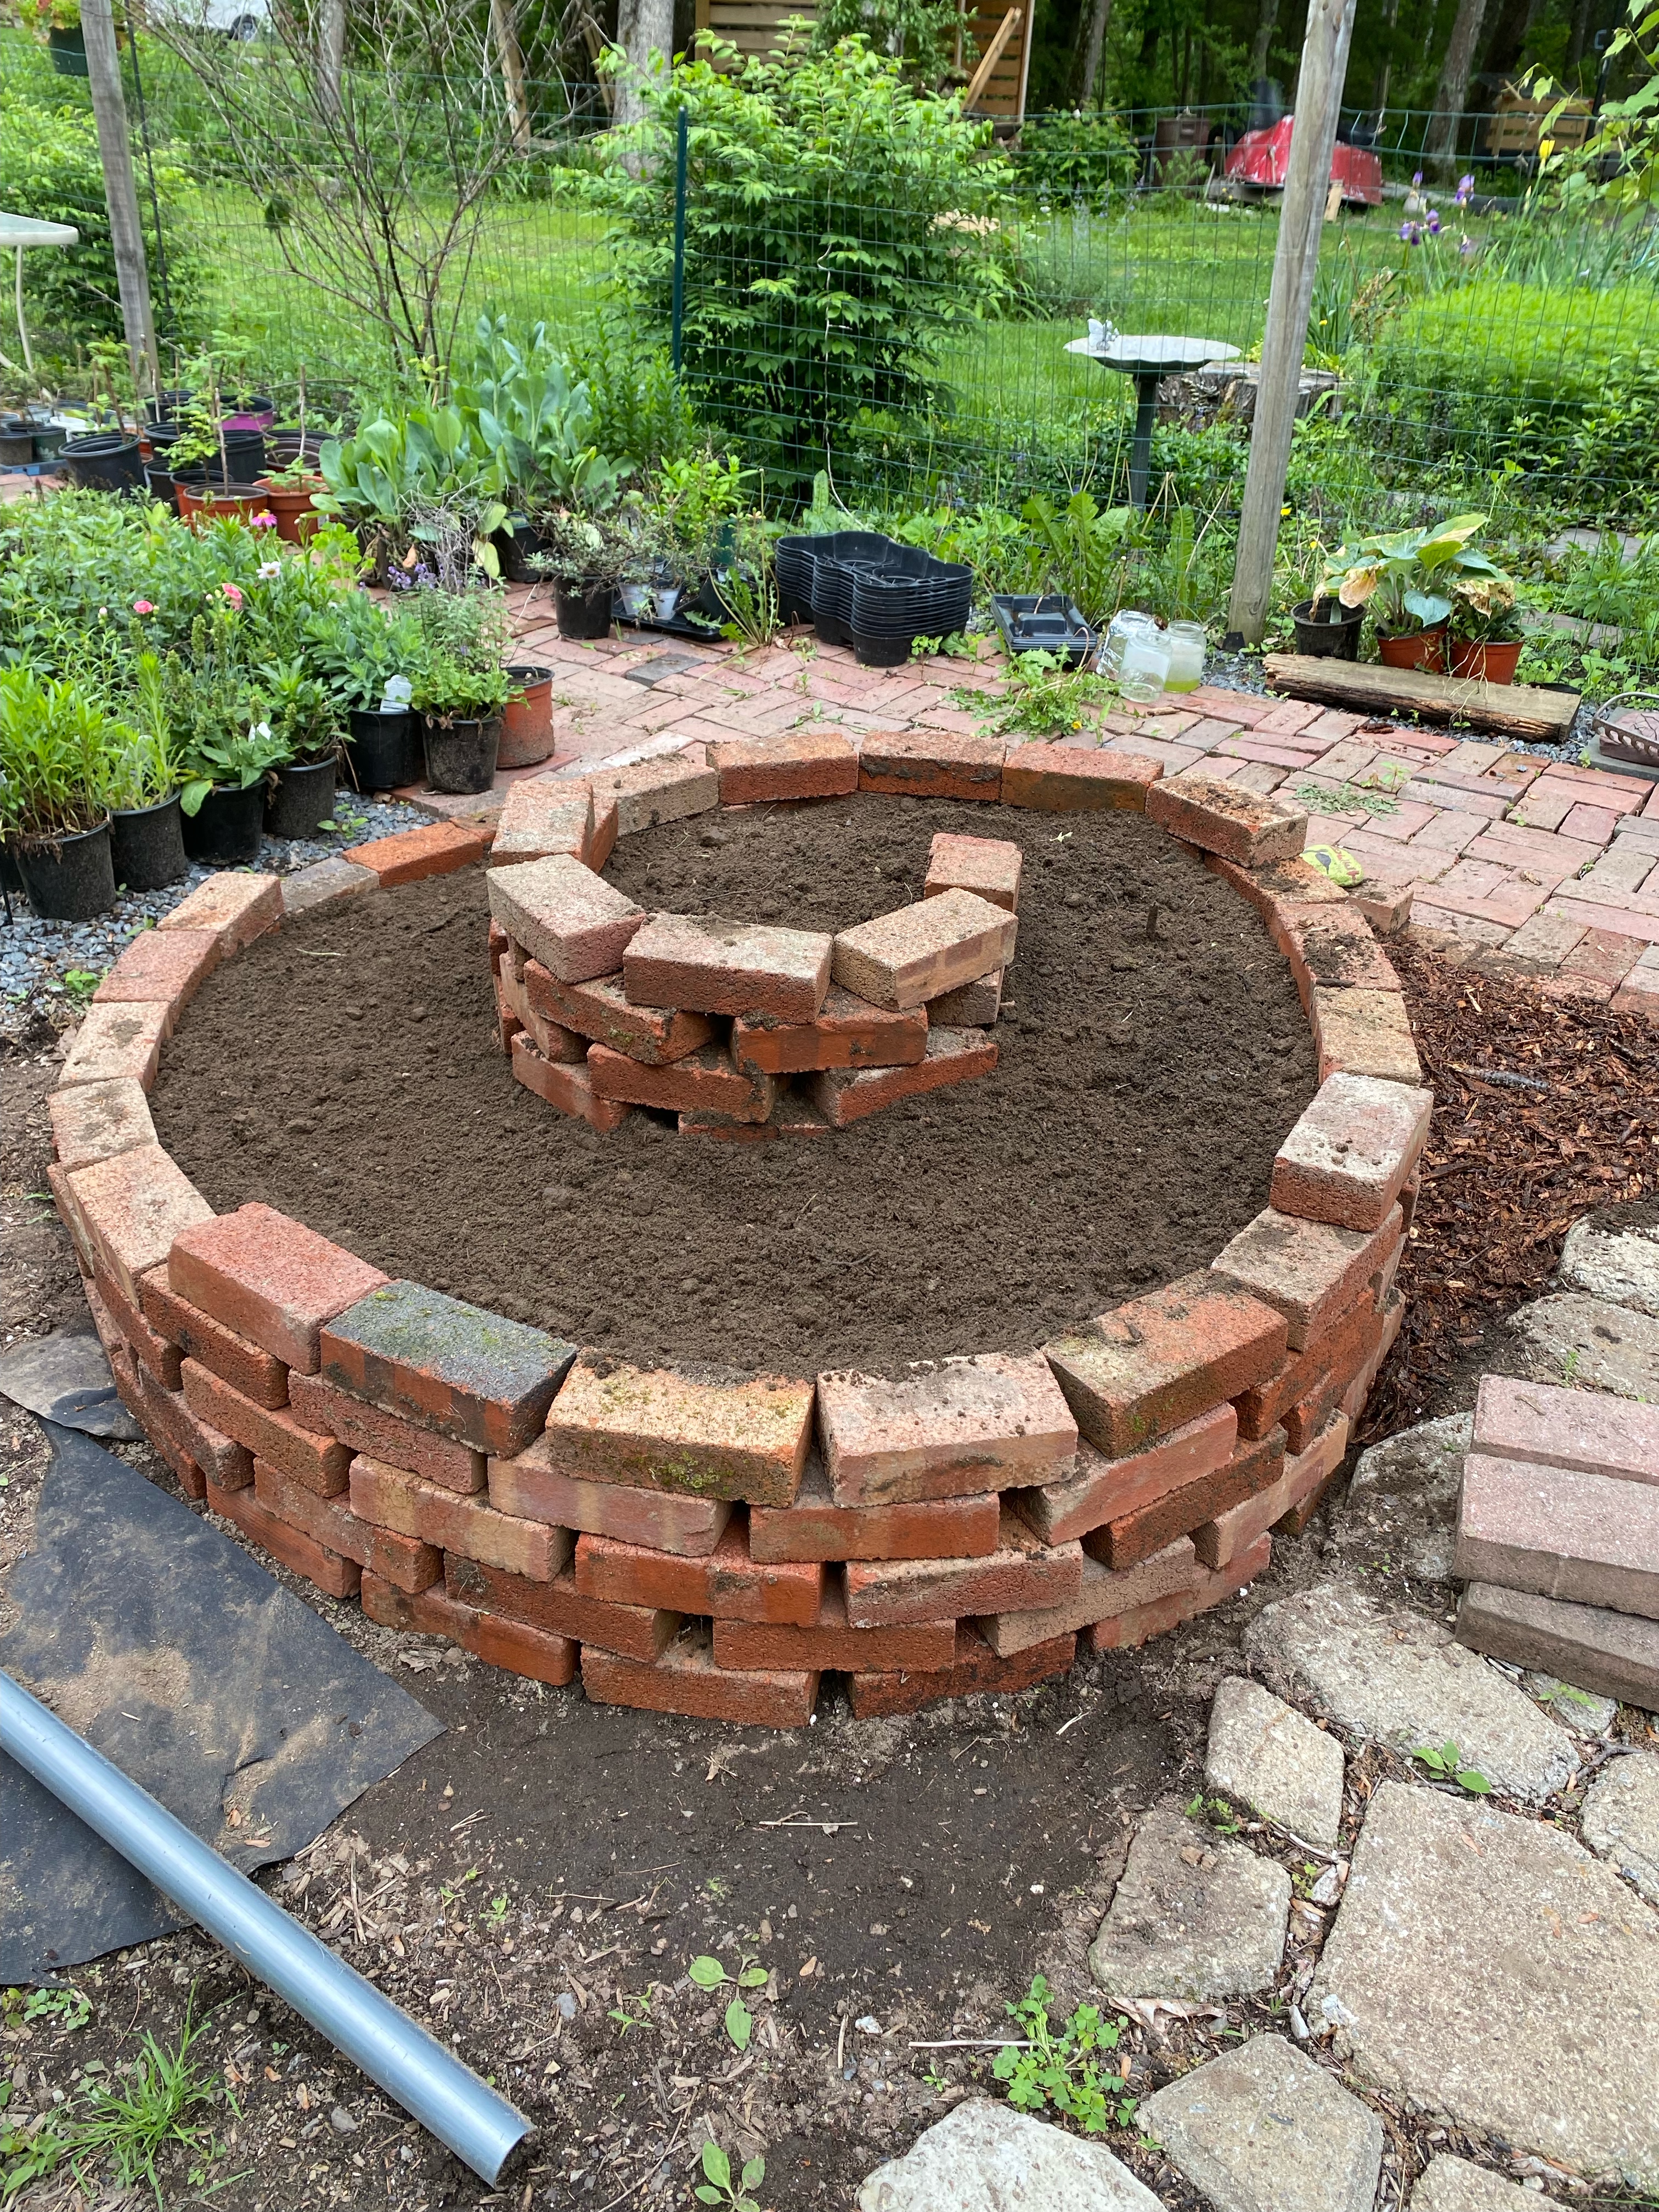
To make the spiral, my goal was to keep the planting space around 12-15 inches. This was a bit of a challenge as I spiraled and I had to move bricks a few times. There wasn’t much rhyme or reason to how I decreased the height. I eyeballed it and moved bricks around until I thought it looked good.
After the spiral was to my liking, I started filling it. Instead of putting all dirt, I layered the deepest part with tree mulch. This serves many functions, it takes up space (decreasing my loam needs), adds compost that will overtime breakdown and add essential nutrients to the soil, and lastly, it helps to retain moisture in the spiral. Since there are a lot of areas for air to get in, drying out is something that I want to prevent, but also part of the design. Those that need to stay wetter are in the center, while those more accustomed to drier climates are at the end where the dirt is the most shallow and the sun is the brightest.
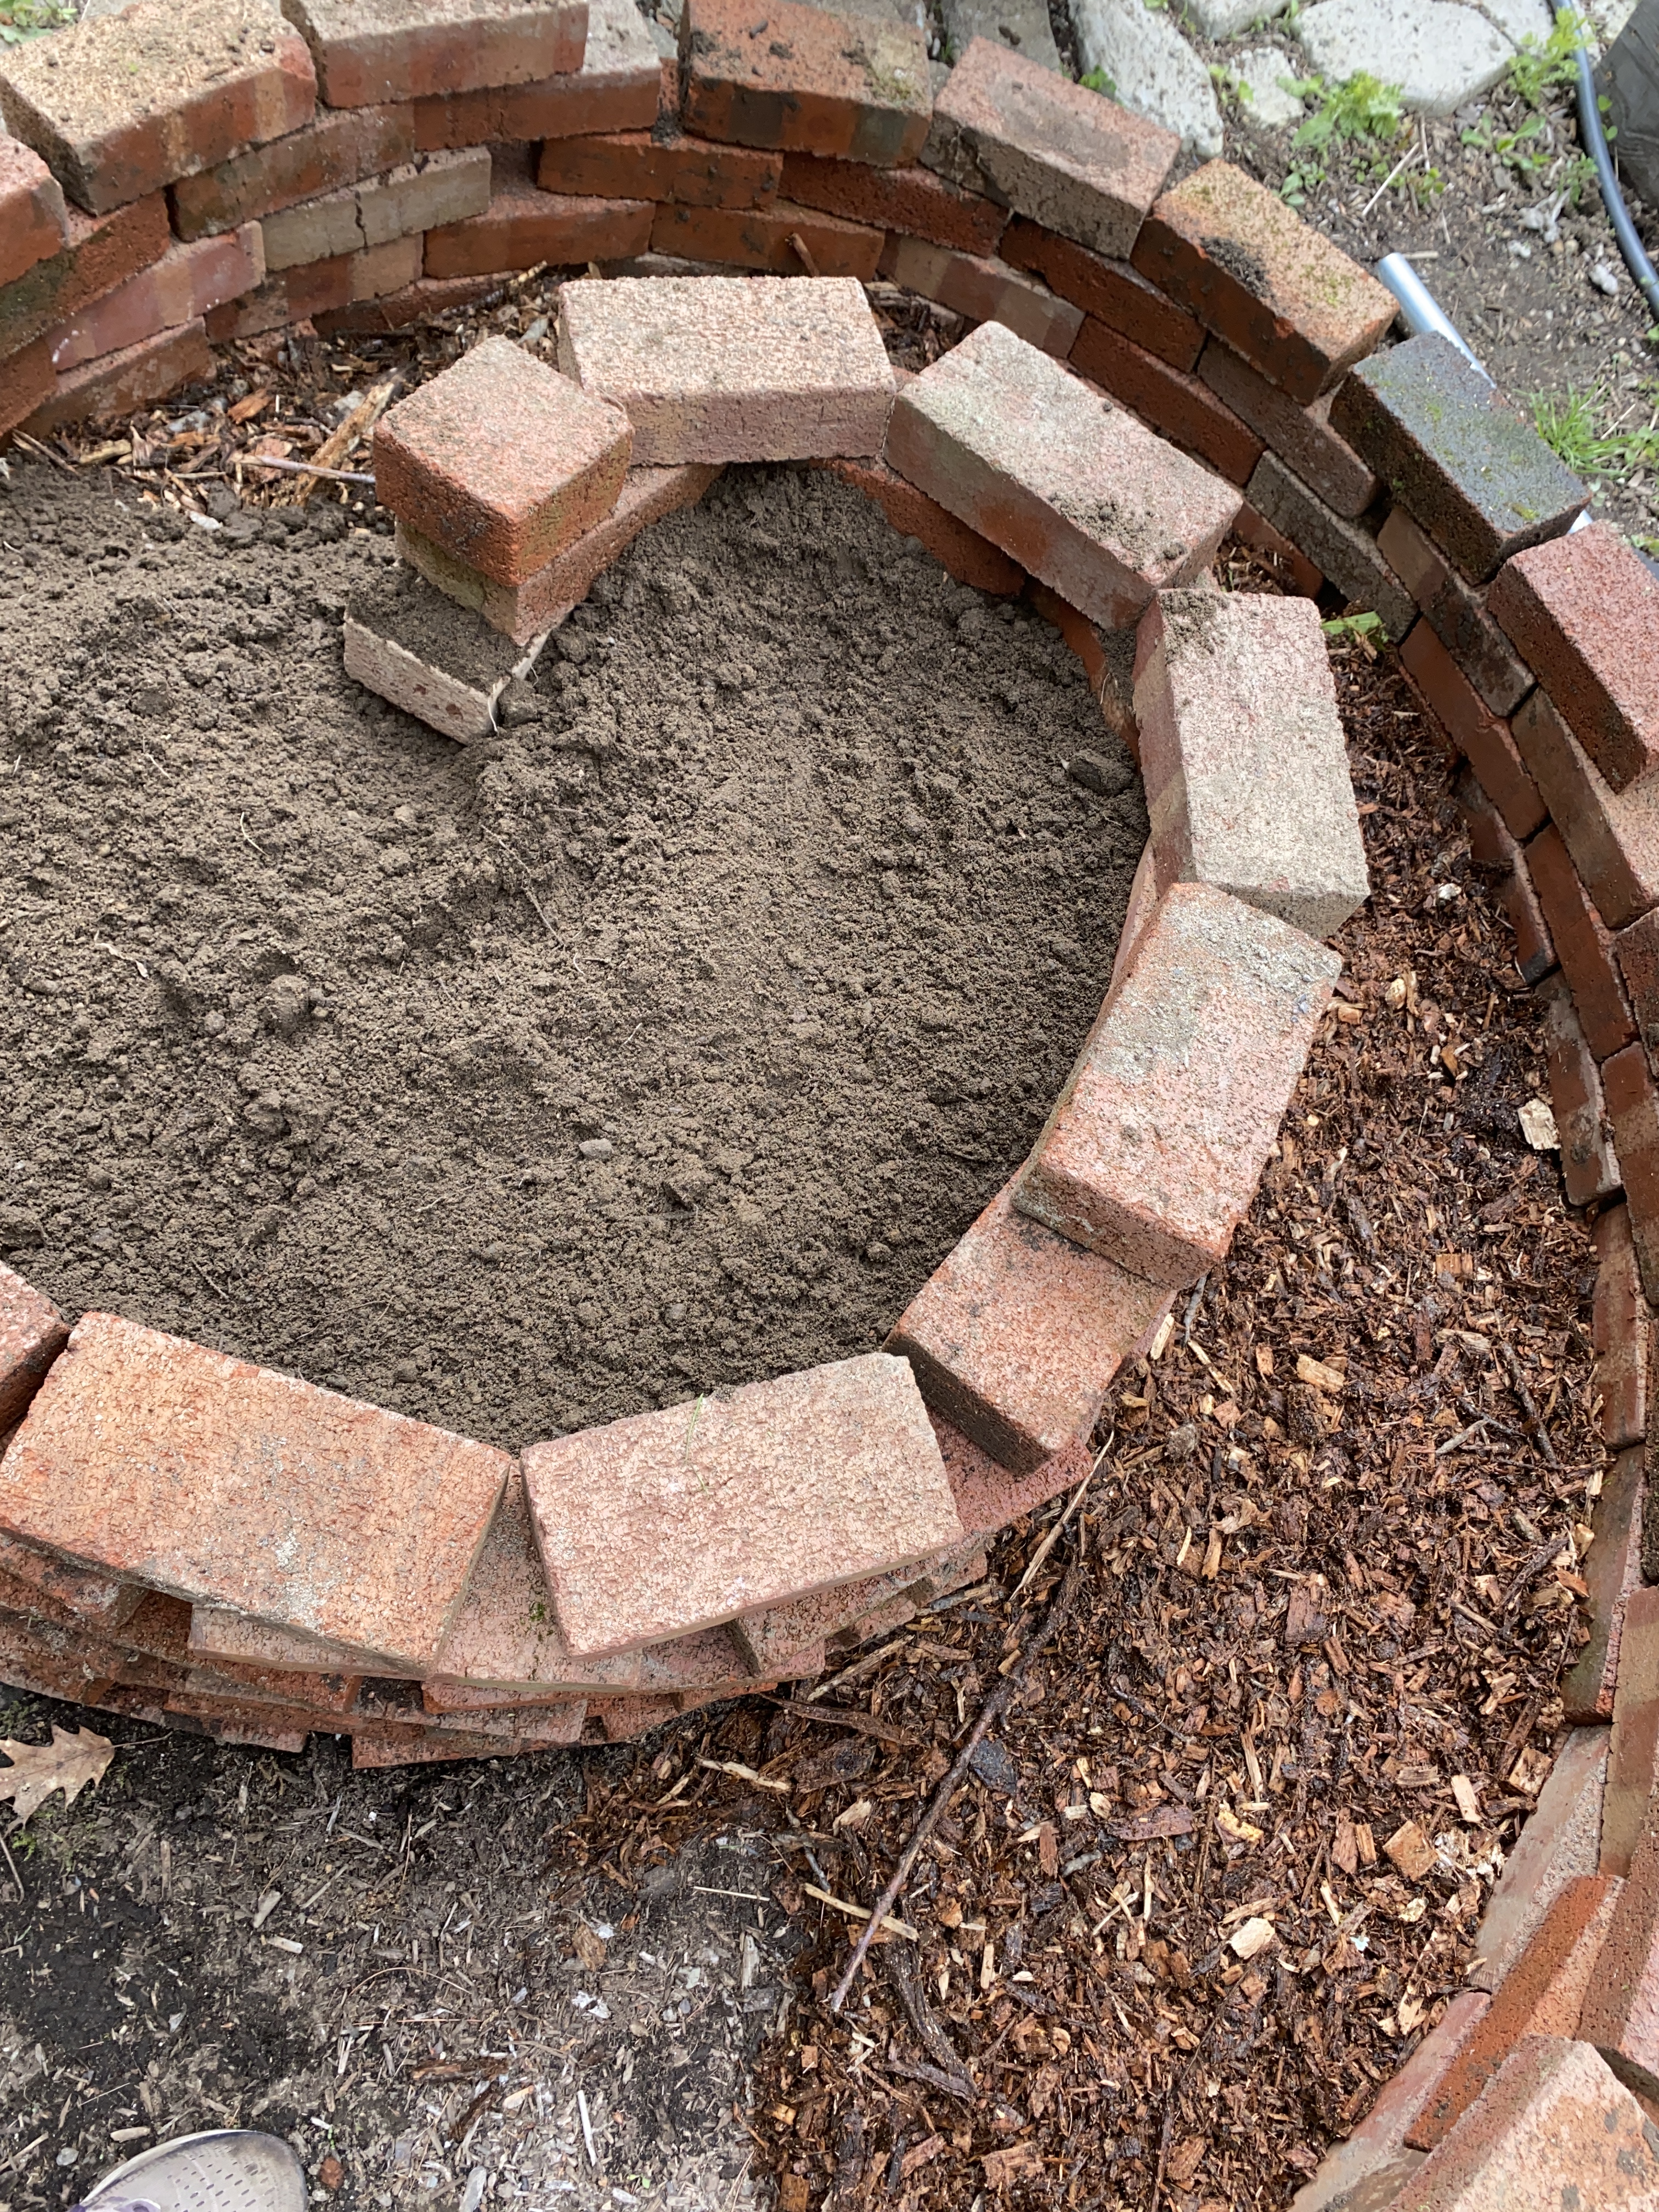
One mistake I made and to try to avoid – make sure the bricks are touching all the way up. When I got to the top layers, the bricks were a little further apart and some of the dirt started to come out. It was a simple fix of removing some layers and making sure the bricks were touching so that I didn’t lose the dirt out of the little gaps. I knew this would be critical especially during a hard rain we get so often here in New England. We have had quite a few huge downpours since this was built and I am happy to report that I have lost no dirt, so my fixes did the trick.
Last task – FILL IT UP! I added some plants that I already had going and used seed for the rest. I am really looking forward to seeing this thing full. I put a lot of seed in, so I may have to thin in the future. Ideally, I would have started the seeds already and just transplanted. There is always next year!
Update 10/2023 –
The herb spiral has been growing fantastic. Last year was my first season with it and I overfilled it. I was eager to put all the potential herbs in there. In the end, it was too crowded. This year I focused on herbs I really wanted, limited my varieties to rosemary, thyme, parsley, basil, chamomile, sage, and cilantro. As you can see, it was a success.
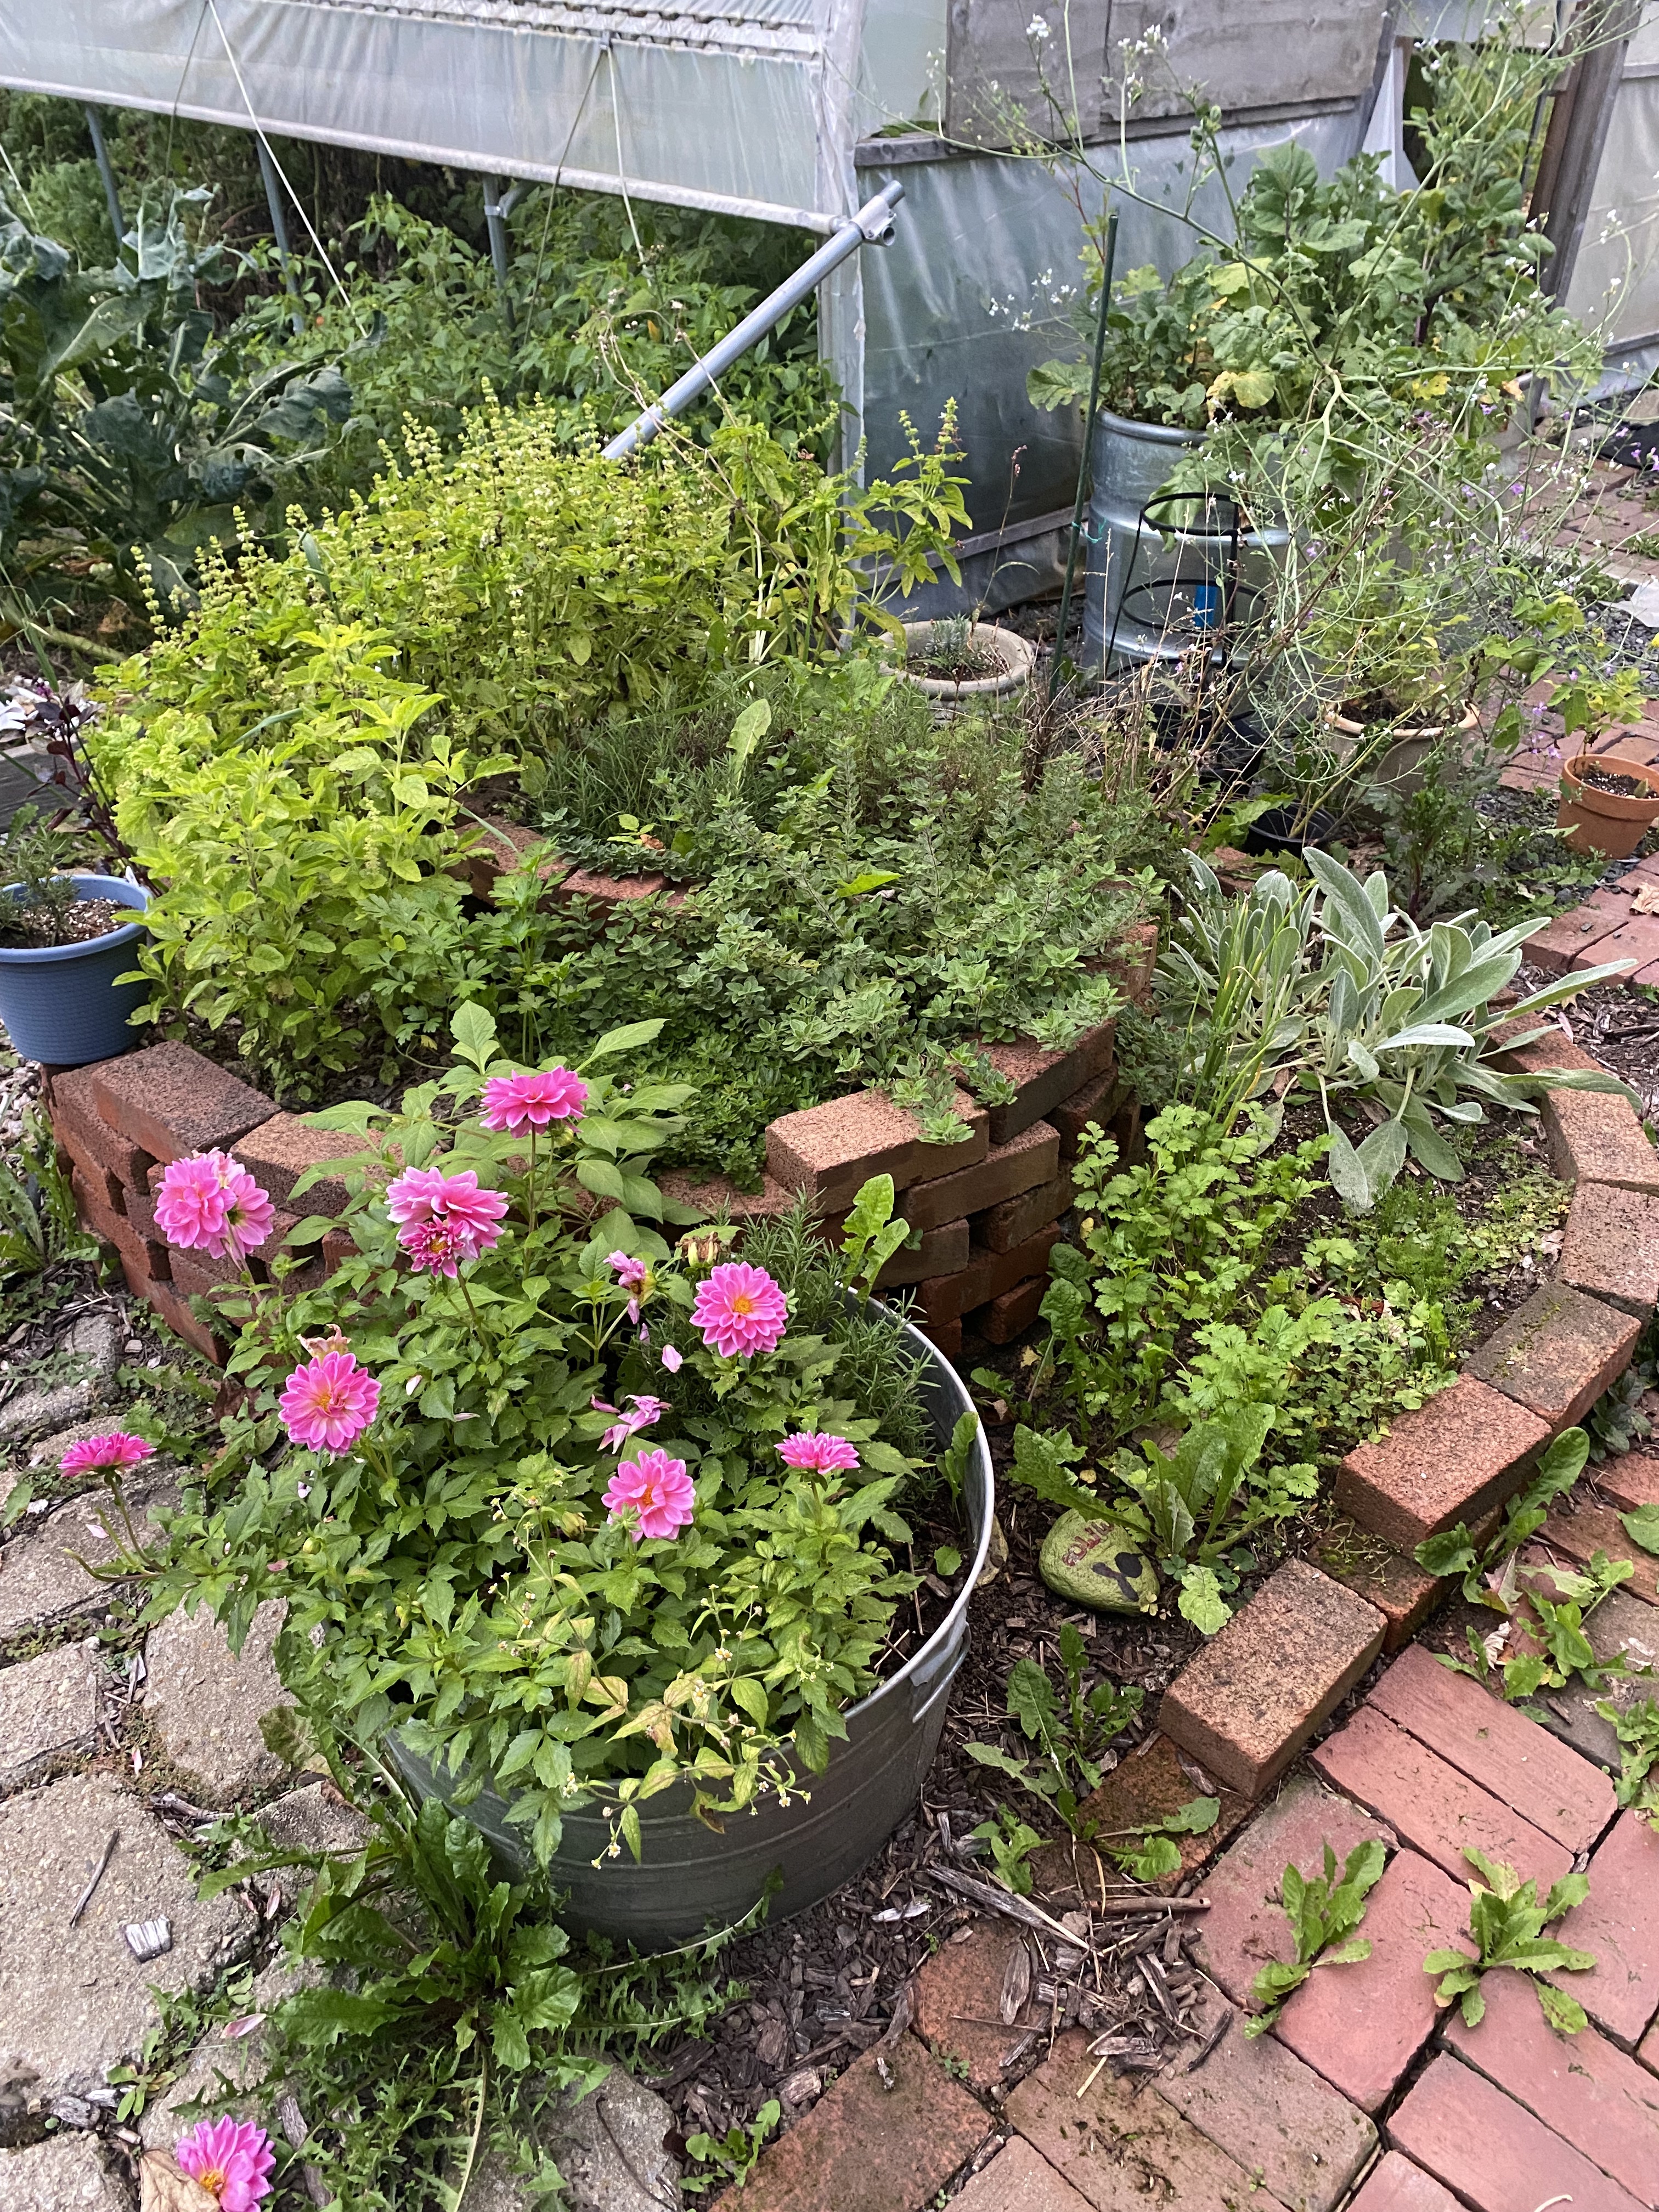
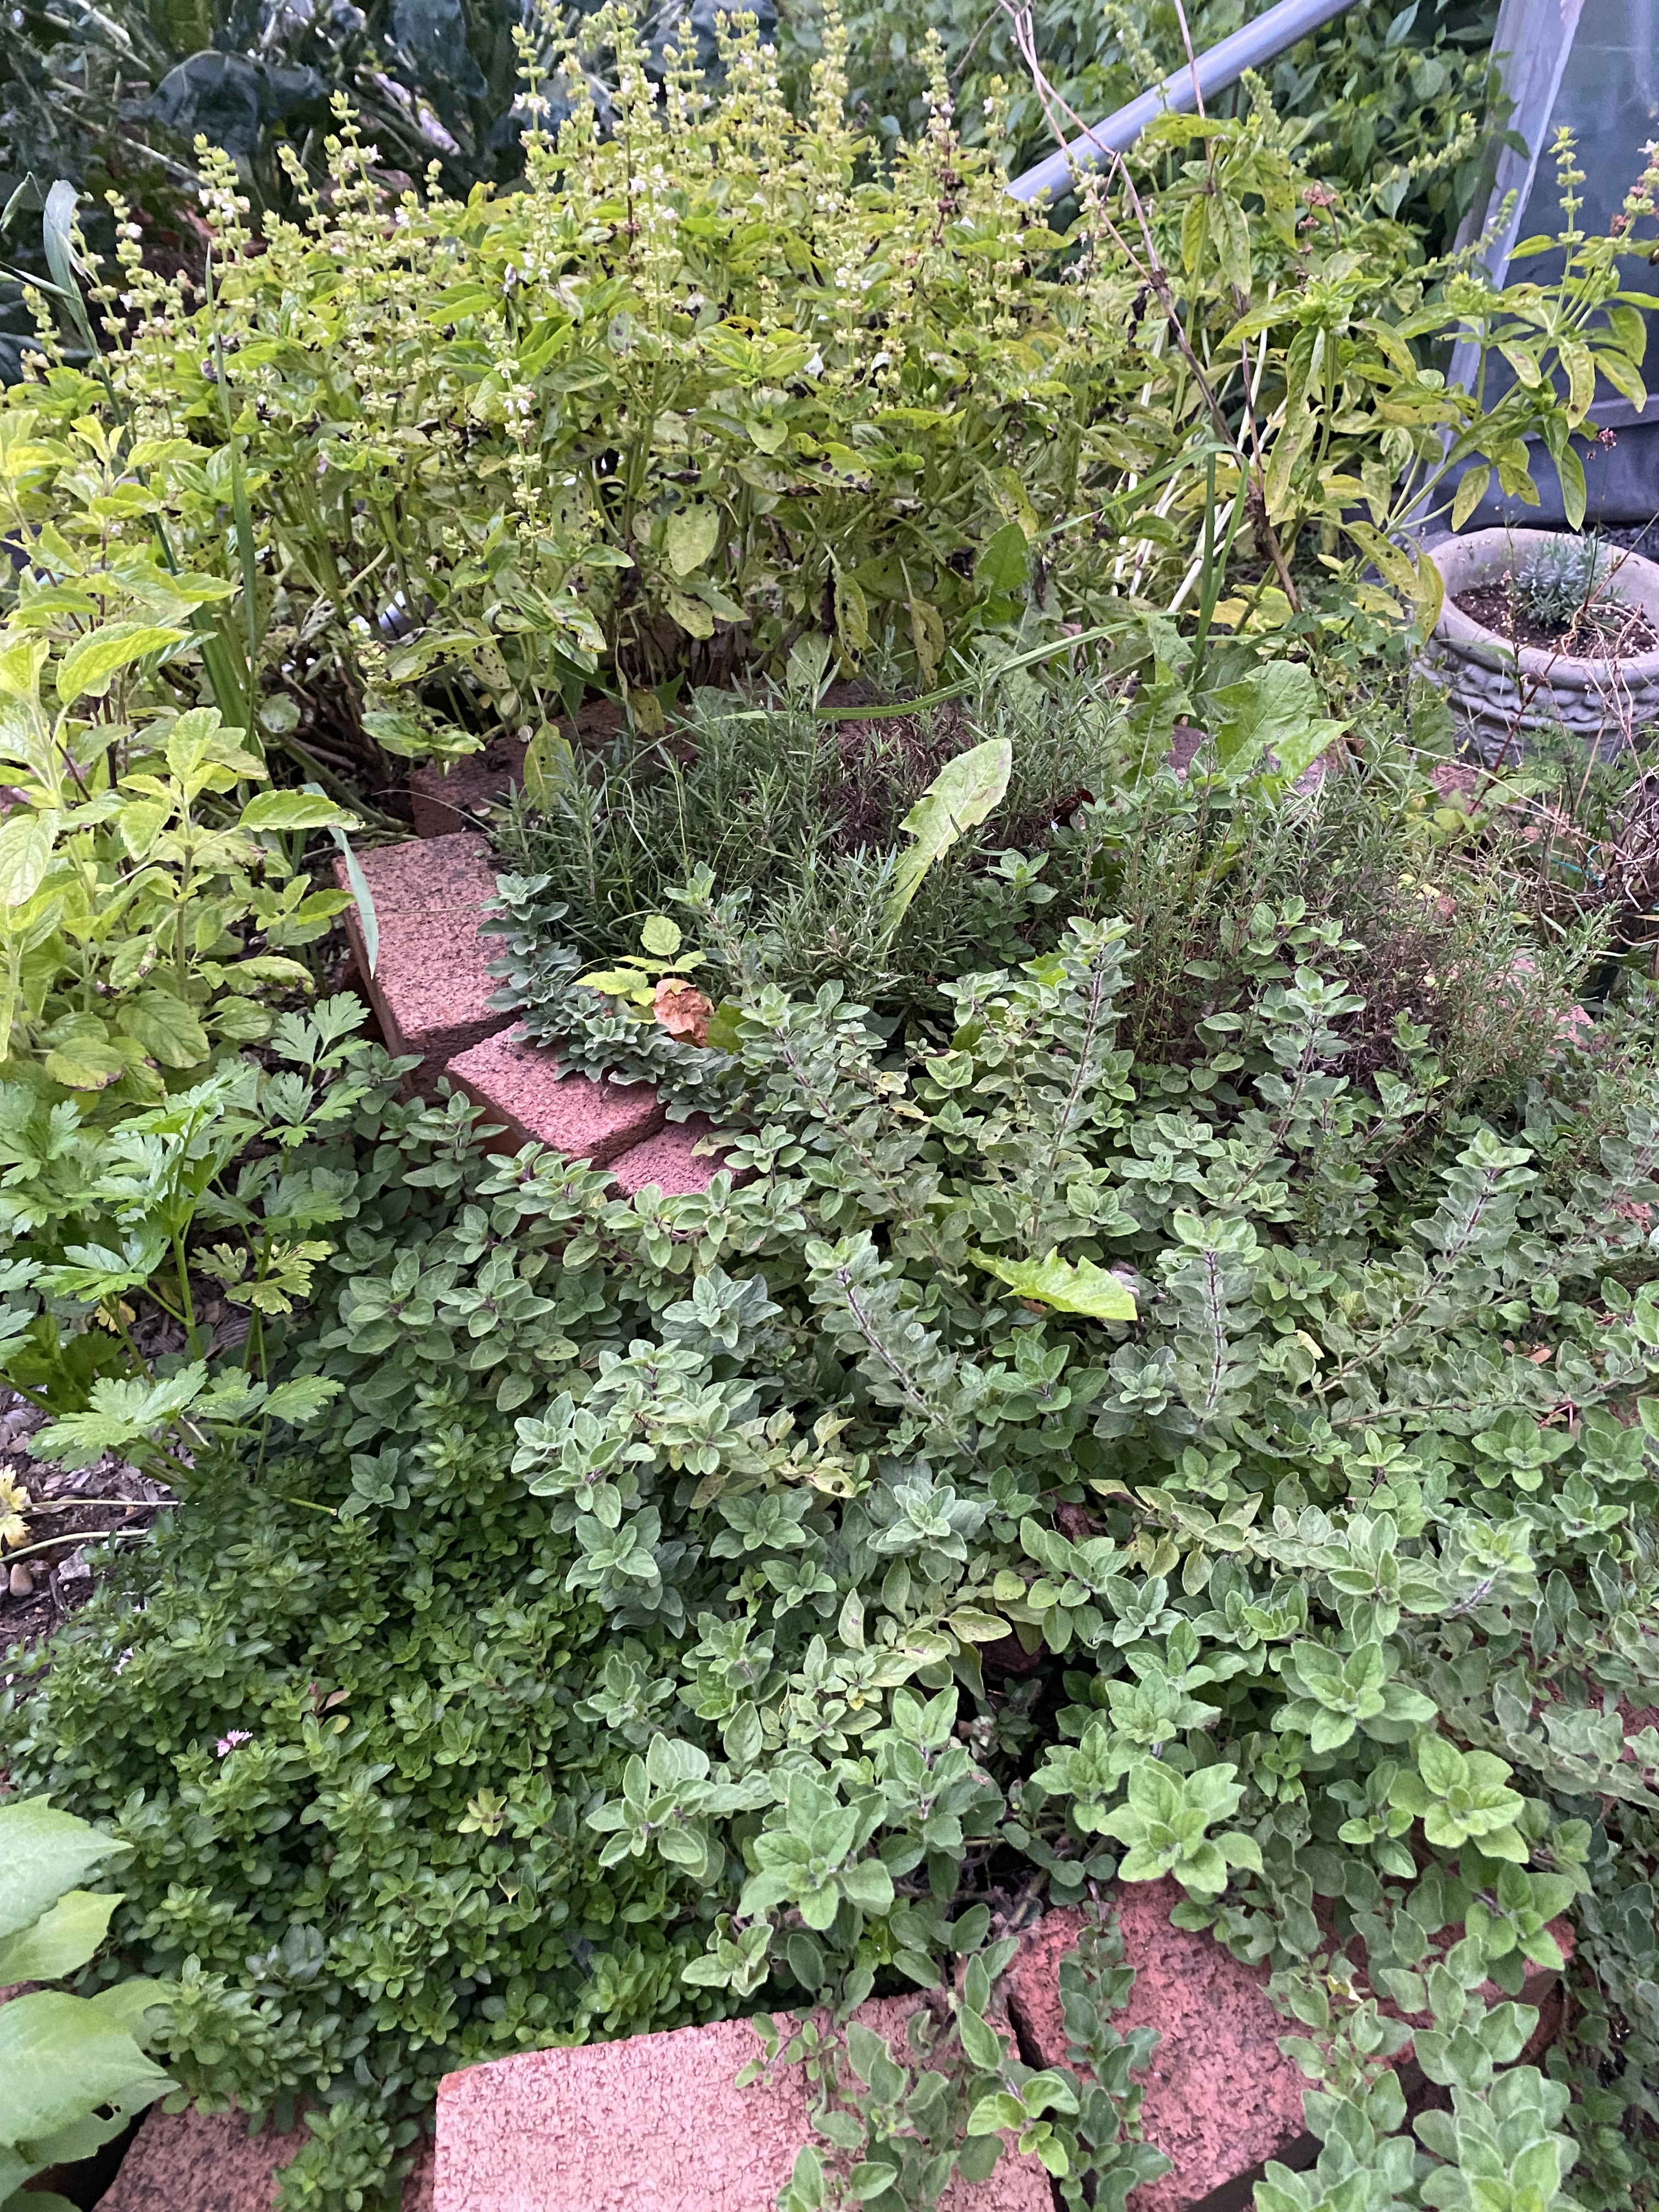
P.S. These pics are evening snaps at the end of a long growing season, try not to judge the weeds 🙂
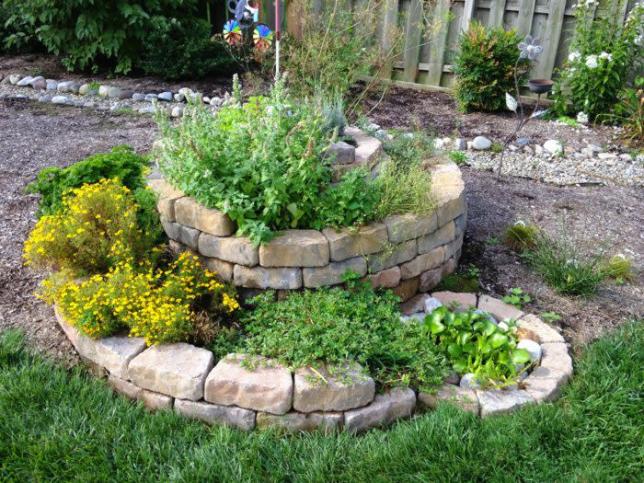
Here are some herb spirals I found for inspiration!

I hope you have found this inspiring! Keep growing friends!


Leave a comment